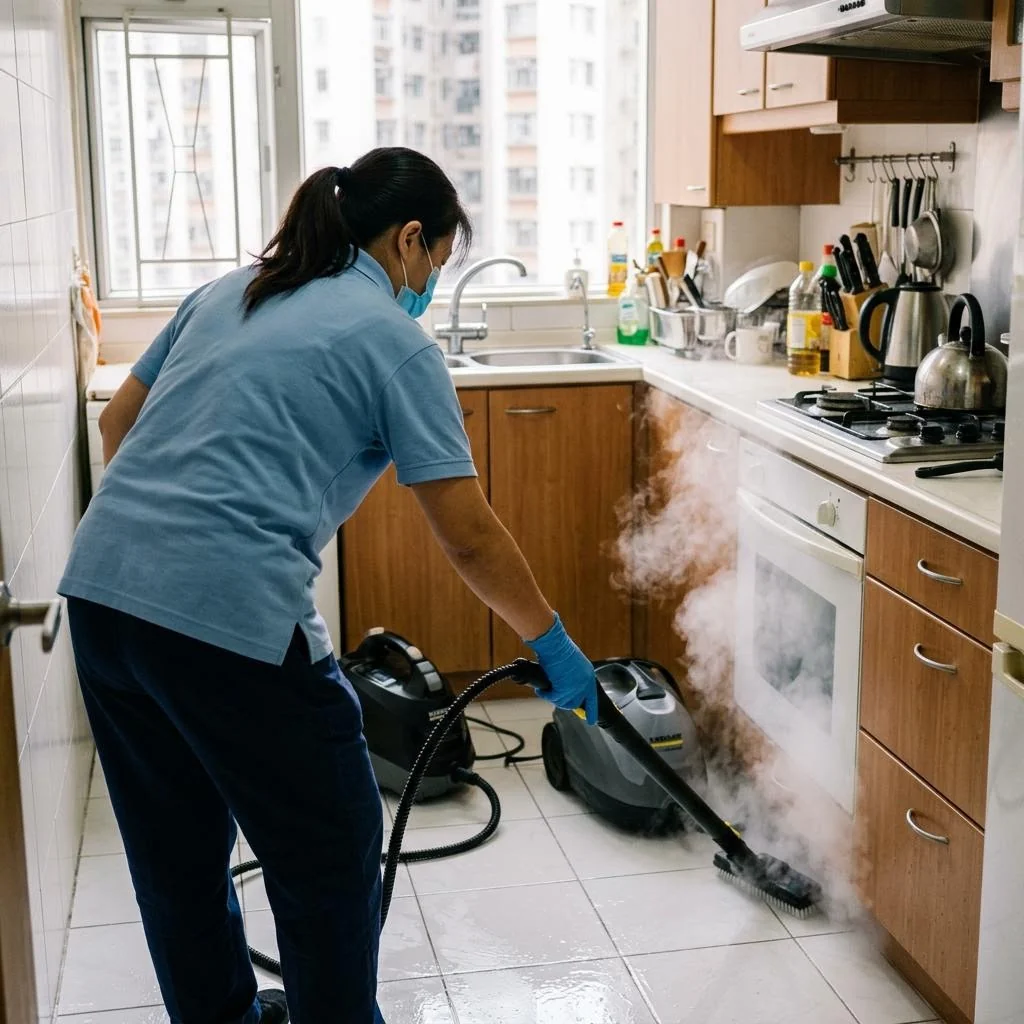
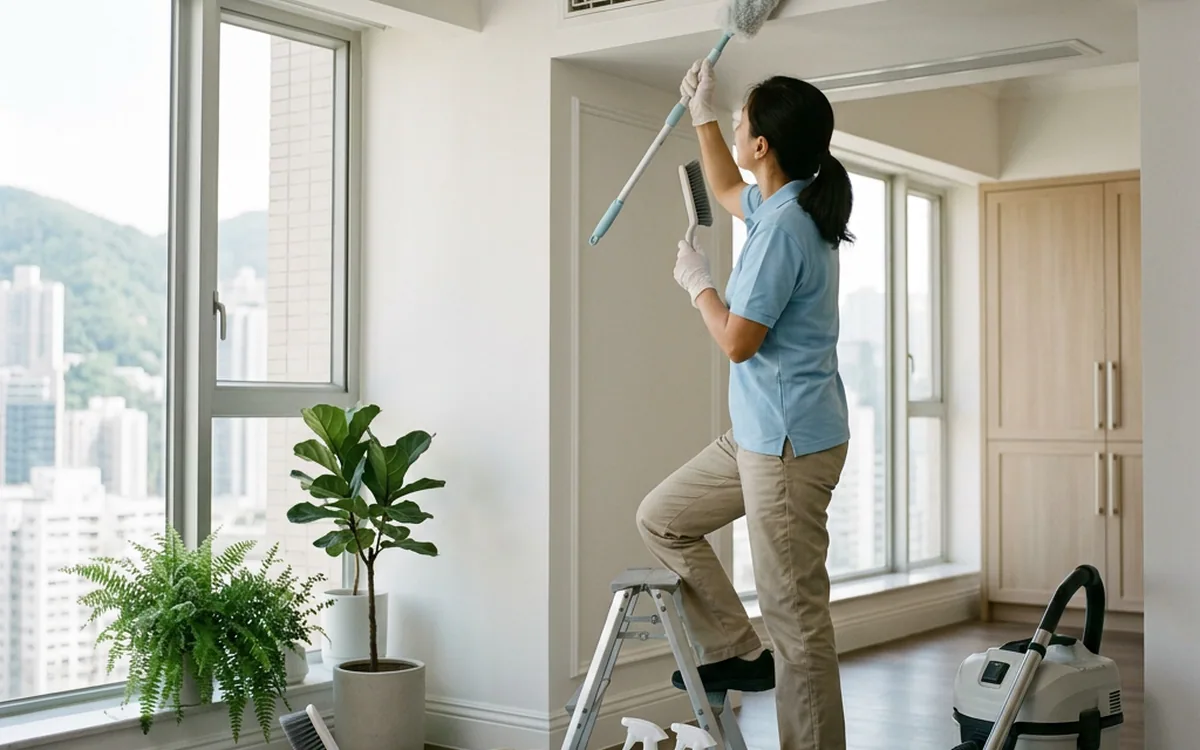
Post-renovation cleaning is recommended to handle high positions such as ceiling light troughs, air conditioner locations, and cabinet tops first, then proceed to wall, door frame, and cabinet cleaning, and clean the floor last. Through first vacuuming, then wiping with a slightly damp cloth, and focusing on clearing fine dust in window tracks, baseboards, and kitchen/bathroom crevices, avoid dust spreading again with airflow.
Characteristics of post-renovation dust and processing logic
Dust after renovation is extremely fine, will float with the air, and settle on vertical surfaces and hidden spaces. If only the floor is cleaned, when using air conditioners, fans, or walking, the dust remaining in high places will spread again, leading to repeated cleaning. It is recommended to follow the principle of "top first, then bottom; inside first, then outside" to reduce the chance of dust falling repeatedly.
Cleaning of key hidden locations
The focus of cleaning after renovation is on the details; be sure to check cabinet tracks, drawer shelves, and back panels, and remove any wood chips or dust that may be left behind. Window frames and window tracks are the most prone to accumulating concrete powder and mud dust; when cleaning, the rubber seals and corners should be thoroughly cleaned to avoid mold caused by moisture.
- High position: light troughs, ceiling lines, cabinet tops, air conditioner vents
- Window side: bottom of window frame, glass rubber seals, aluminum window tracks
- Indoor: wall corner baseboards, socket panel edges, door frames, and thresholds
- Kitchen/Bathroom: drain openings, stove edges, bottom of sinks, tile joints
Material treatment and safety tips
When handling residual glue or paint marks, you must distinguish according to the material. Hard objects should not be used to scrape wooden floors, marble, and stainless steel surfaces. For sockets and switch panels, it is absolutely forbidden to remove circuits or use large amounts of water for cleaning; it is only recommended to wipe gently with a slightly damp cloth. If the stains are stubborn, you should choose a special cleaning agent that is harmless to the material and perform a local test in an inconspicuous area beforehand.
When to stop DIY and check completion level
When encountering extreme heights (requiring climbing), exterior walls or windows, or suspected circuit damage, stop DIY attempts. After cleaning, use a high-intensity light to check wall corners or cabinets for dust; if dust continues to fall after turning on ventilation, the internal cleaning is incomplete.